Whole House Generator Installation Guide – What to Expect

Getting a whole house generator is a smart move if you’re tired of worrying about losing power. It keeps your home running—lights, fridge, AC, heat—no matter what’s going on outside. But installing one isn’t just a quick DIY project. It’s got to be done right, with the right equipment, permits, and connections to keep it safe and reliable.
I’ve been doing this for years, and trust me, understanding the process makes a big difference. In this guide, I’ll walk you through what happens from start to finish so you know what to expect. If you’re ready to get started, go ahead and Schedule an Estimate to get the ball rolling.
Preparing for Installation
Before you install a whole house generator, there are a few key steps to get things ready. Skipping these can lead to bigger headaches down the road, so it’s worth taking the time to do it right.
1. Evaluate Your Power Needs
Start by figuring out what you need the generator to power. Are you running your whole home or just the essentials like the fridge, HVAC, and lights? This helps determine the size of the generator you’ll need. Bigger homes or those with heavy power needs might require a larger generator.
2. Choose the Right Fuel Type
Most standby generators run on either natural gas or propane. Natural gas is great if you already have a line to your home. Propane works well for rural areas or as a backup option. Your fuel choice affects the setup and cost, so it’s something to decide early.
3. Pick the Installation Location
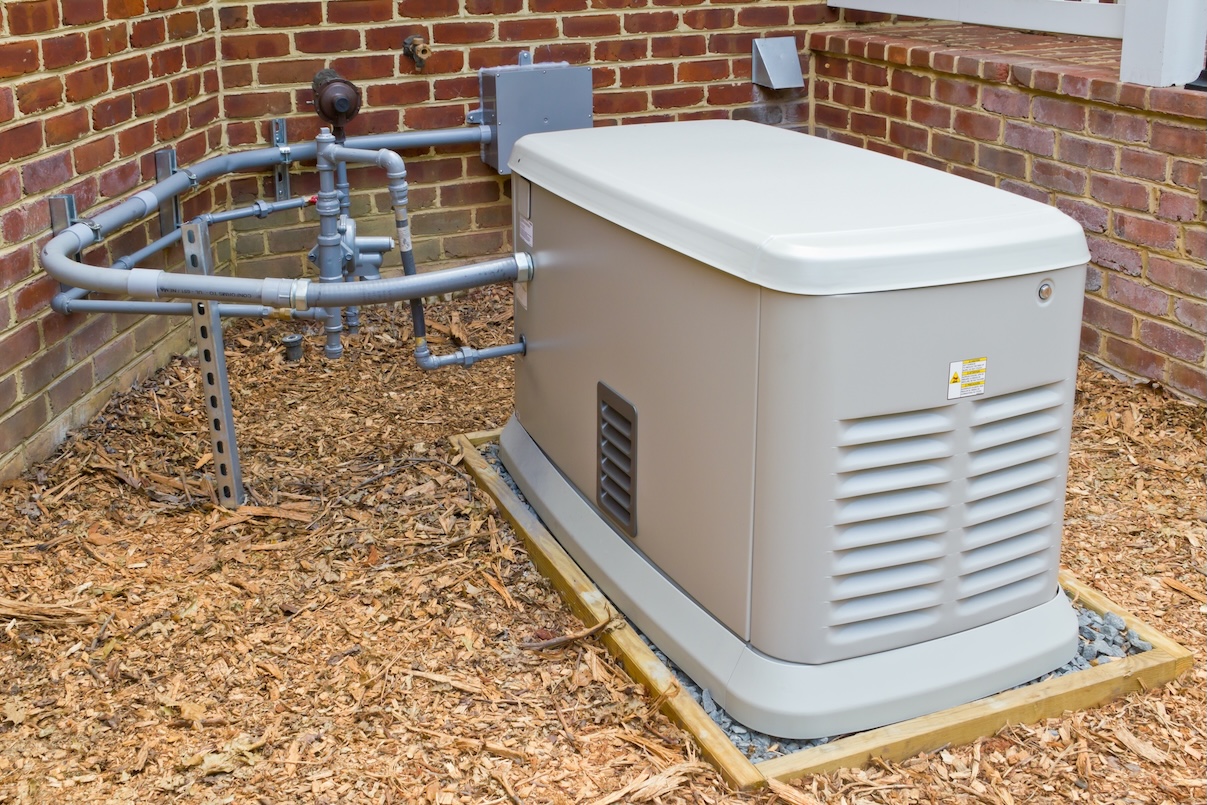
The generator needs to sit on a level surface, usually a concrete pad, and be far enough from windows and doors to meet safety codes. You’ll also want it close to your home’s gas and electrical hookups to keep installation simple.
4. Get the Necessary Permits
Most areas require permits for standby generator installations. This covers electrical, plumbing, and sometimes zoning rules. A professional installer can handle this for you to avoid delays or fines.
Preparing ahead ensures the process goes smoothly, and a professional can help you avoid costly mistakes. Ready to take the next step? Schedule an Estimate and we’ll help you get everything sorted out.
The Installation Process
When it comes to installing a whole house generator, there’s a lot more to it than just setting it in place. Here’s what happens during the process so you know what to expect.
1. Site Assessment
A professional will come out to inspect your property and confirm the best spot for the generator. They’ll check where the gas and electrical connections are and make sure the location meets local safety codes.
2. Setting the Foundation
The generator needs a stable base to sit on, usually a concrete pad or prefab base. This keeps it level and secure, even during bad weather.
3. Installing the Generator
The generator is carefully placed on the foundation and secured. This step involves ensuring the generator is properly aligned with the gas and electrical connections to streamline the hookup process. Safety and precision are critical here.
4. Electrical and Gas Connections
The generator is wired to your home’s electrical panel using a transfer switch. This ensures the generator kicks in automatically during an outage. The gas line is also hooked up at this stage, whether it’s natural gas or propane.
5. System Testing
Once everything’s connected, the technician will test the system to make sure it runs properly. They’ll check for leaks, ensure the transfer switch works, and confirm the generator can handle your power needs.
6. Final Walkthrough
Before wrapping up, the installer will explain how to operate and maintain the generator. You’ll get a chance to ask questions and make sure you’re comfortable with the setup.
A proper installation takes expertise and attention to detail. If you’re ready to get started, Schedule an Estimate and let us handle the heavy lifting for you.
Post-Installation Checklist
After your generator is installed, there are a few final steps to make sure everything is working like it should. This is where we fine-tune the setup and give you peace of mind that your investment is ready to perform when it’s needed.
1. Initial System Test
The installer will run the generator to confirm it’s working properly. This includes checking the automatic transfer switch, ensuring the power flow to your home is seamless, and verifying the generator can handle the load it’s designed for.
2. Safety Inspections
Safety is non-negotiable. The gas and electrical connections are inspected for leaks or loose connections. Proper airflow around the generator is checked to ensure it meets code and keeps the unit running safely.
3. Programming and Setup
Modern generators often have programmable features, like self-tests and alerts for maintenance. These settings will be adjusted to suit your home and schedule, so the generator operates efficiently.
4. Final Walkthrough
The technician will show you how to operate the generator, including starting it manually if needed and monitoring for issues. You’ll also learn what maintenance to keep an eye on, like oil changes and air filter replacements.
5. Documentation and Warranty
You’ll receive all the paperwork, including your warranty, maintenance guide, and any permits for the installation. Keep these handy for future reference.
Maintenance and Long-Term Care
Installing a whole house generator is just the first step. To keep it running when you need it most, regular maintenance is key. Here’s what you need to know about taking care of your generator.
1. Follow the Maintenance Schedule
Every generator comes with a recommended maintenance schedule. This usually includes regular oil and filter changes, inspecting the spark plugs, and checking for wear and tear. Skipping maintenance can lead to problems when you least expect it.
2. Run It Regularly
Most generators are designed to run a weekly self-test. This keeps the engine in good shape and makes sure everything is ready for an outage. If your generator doesn’t self-test, make it a habit to manually run it once a month.
3. Inspect After Major Use
If the generator runs for an extended period during a power outage, it’s a good idea to inspect it afterward. Check the oil level, look for leaks, and make sure the air filter isn’t clogged.
4. Professional Maintenance
While there are tasks you can handle yourself, it’s smart to schedule professional maintenance once a year. A technician can spot issues you might miss, test the electrical system, and make sure the generator is operating efficiently.
5. Prepare for Winter or Storm Season
Before heavy use seasons, like winter or hurricane season, do a full checkup. Stock up on oil and filters, and make sure the fuel supply is ready to go. This prevents surprises when the weather turns bad.
Taking care of your generator isn’t complicated, but it does require consistency. If you’re looking for a hassle-free way to stay on top of it, our team can help. Contact Us to set up a maintenance plan and keep your generator in top shape.


